
Trussing a chicken is basically tying a chicken, or any other bird for that matter, to ensure that the legs and wings are firmly fastened against the body.
This allows for even cooking without having any of its extremities dried out. The result will be juicy white meat and well-cooked thighs and legs.
Without trussing, the breast cavity can stay open allowing too much hot air to circulate inside of it. This results in the drying out of the breast before the thighs and legs are properly cooked.
While trussing may sound like a bunch of complicated steps, the basic form is actually really easy and takes less than a minute.
But let's talk a little about what you can use to truss a chicken. The standard kitchen twine is the usual choice. It is an unbleached cotton twine strong enough to hold a chicken together but won't burn, melt or otherwise ruin your roast.
However, do not fret if you don't have it. There are a few different things that will allow you to truss a chicken without string.
You can either use unwaxed dental floss, aluminium foil or toothpicks/skewers instead.
Now's let dive into the main act.
Step 1
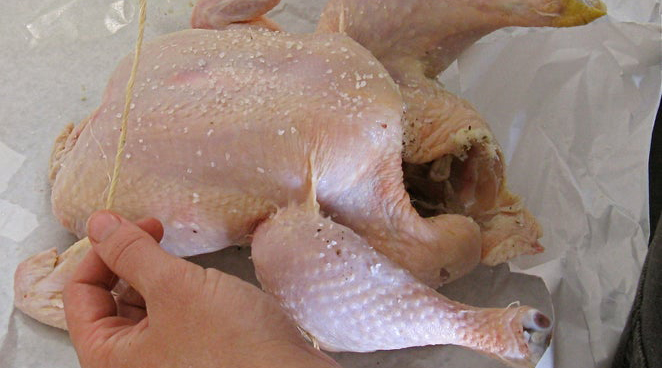
Pat the bird dry and place it on a clean work surface. Position the chicken breast side up with the legs facing you.
Step 2
For an average-sized chicken, cut yourself about three feet of twine. You might not need that much, but it’s better to have a little too much than not enough.
If it's your first attempt, it is always better to start with a more twine than is necessary.
Step 3
Place chicken breast-side up, and run the center of the string under the neck in the front of the bird. There is no need to actually loop it under the neck (it may have been cut off too short anyway) but just be sure to get your string in that general area so it’s far enough down.

Step 4
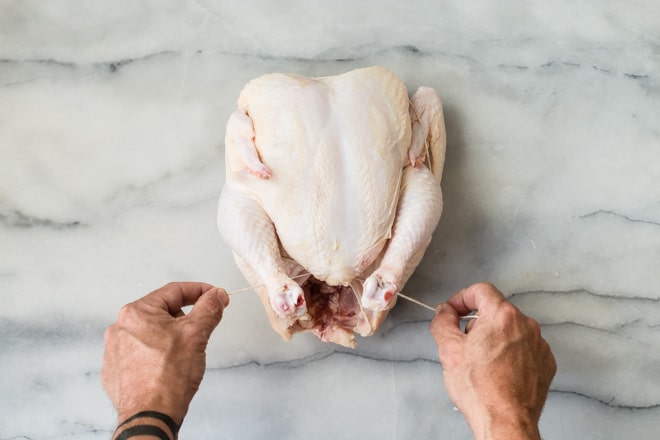
Bring the string up towards the wings and legs.
Step 5
Use thumbs to tuck the wings in as you bring the string around towards the legs. Keep the string tight to force the wings firmly against the body.
The string should roughly follow the contours of the chicken breast.
Don't bother with all the fancy wing-tuck proceduresas the goal is to get all these delicate bits attached to the body of the chicken.
This prevents them from getting burned before the rest of the chicken cooks. Just create one large thermal mass and you're all set.
Step 6
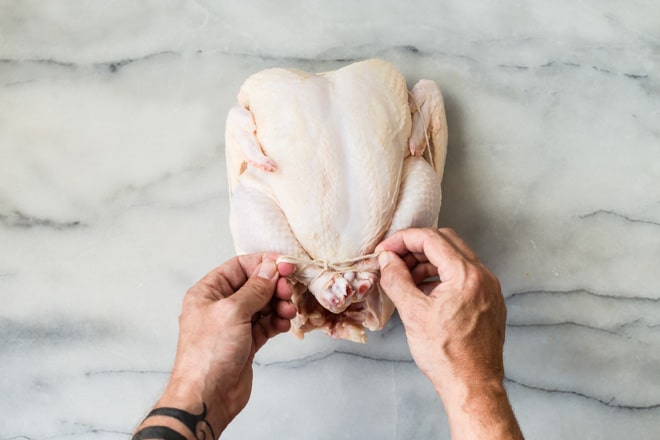
Bring the string around between leg and breast, then give it one overhand knot and pull tight.
The wings will be solidly pinned to the body, and the chicken breast will pop up. Do note that this isn’t a solid knot.
All you want it to do is be able to tighten up on the string.
Step 7
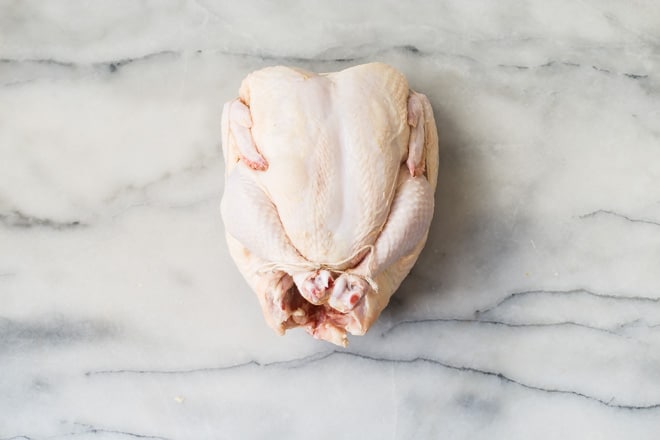
Bring the ends of string down between the chicken’s legs, then cross the legs at the “ankles” above/behind the point of the chicken breast.
Make sure your previous knot is still pulled tight.
And there you go! It's all ready to roast.

